Files Updater
The Files Updater is where you manage the game content your players download. Anything you upload here is synced to players’ machines the next time they launch or update their game. Deletions are also propagated — a file removed here will be removed from players’ installations on their next sync.
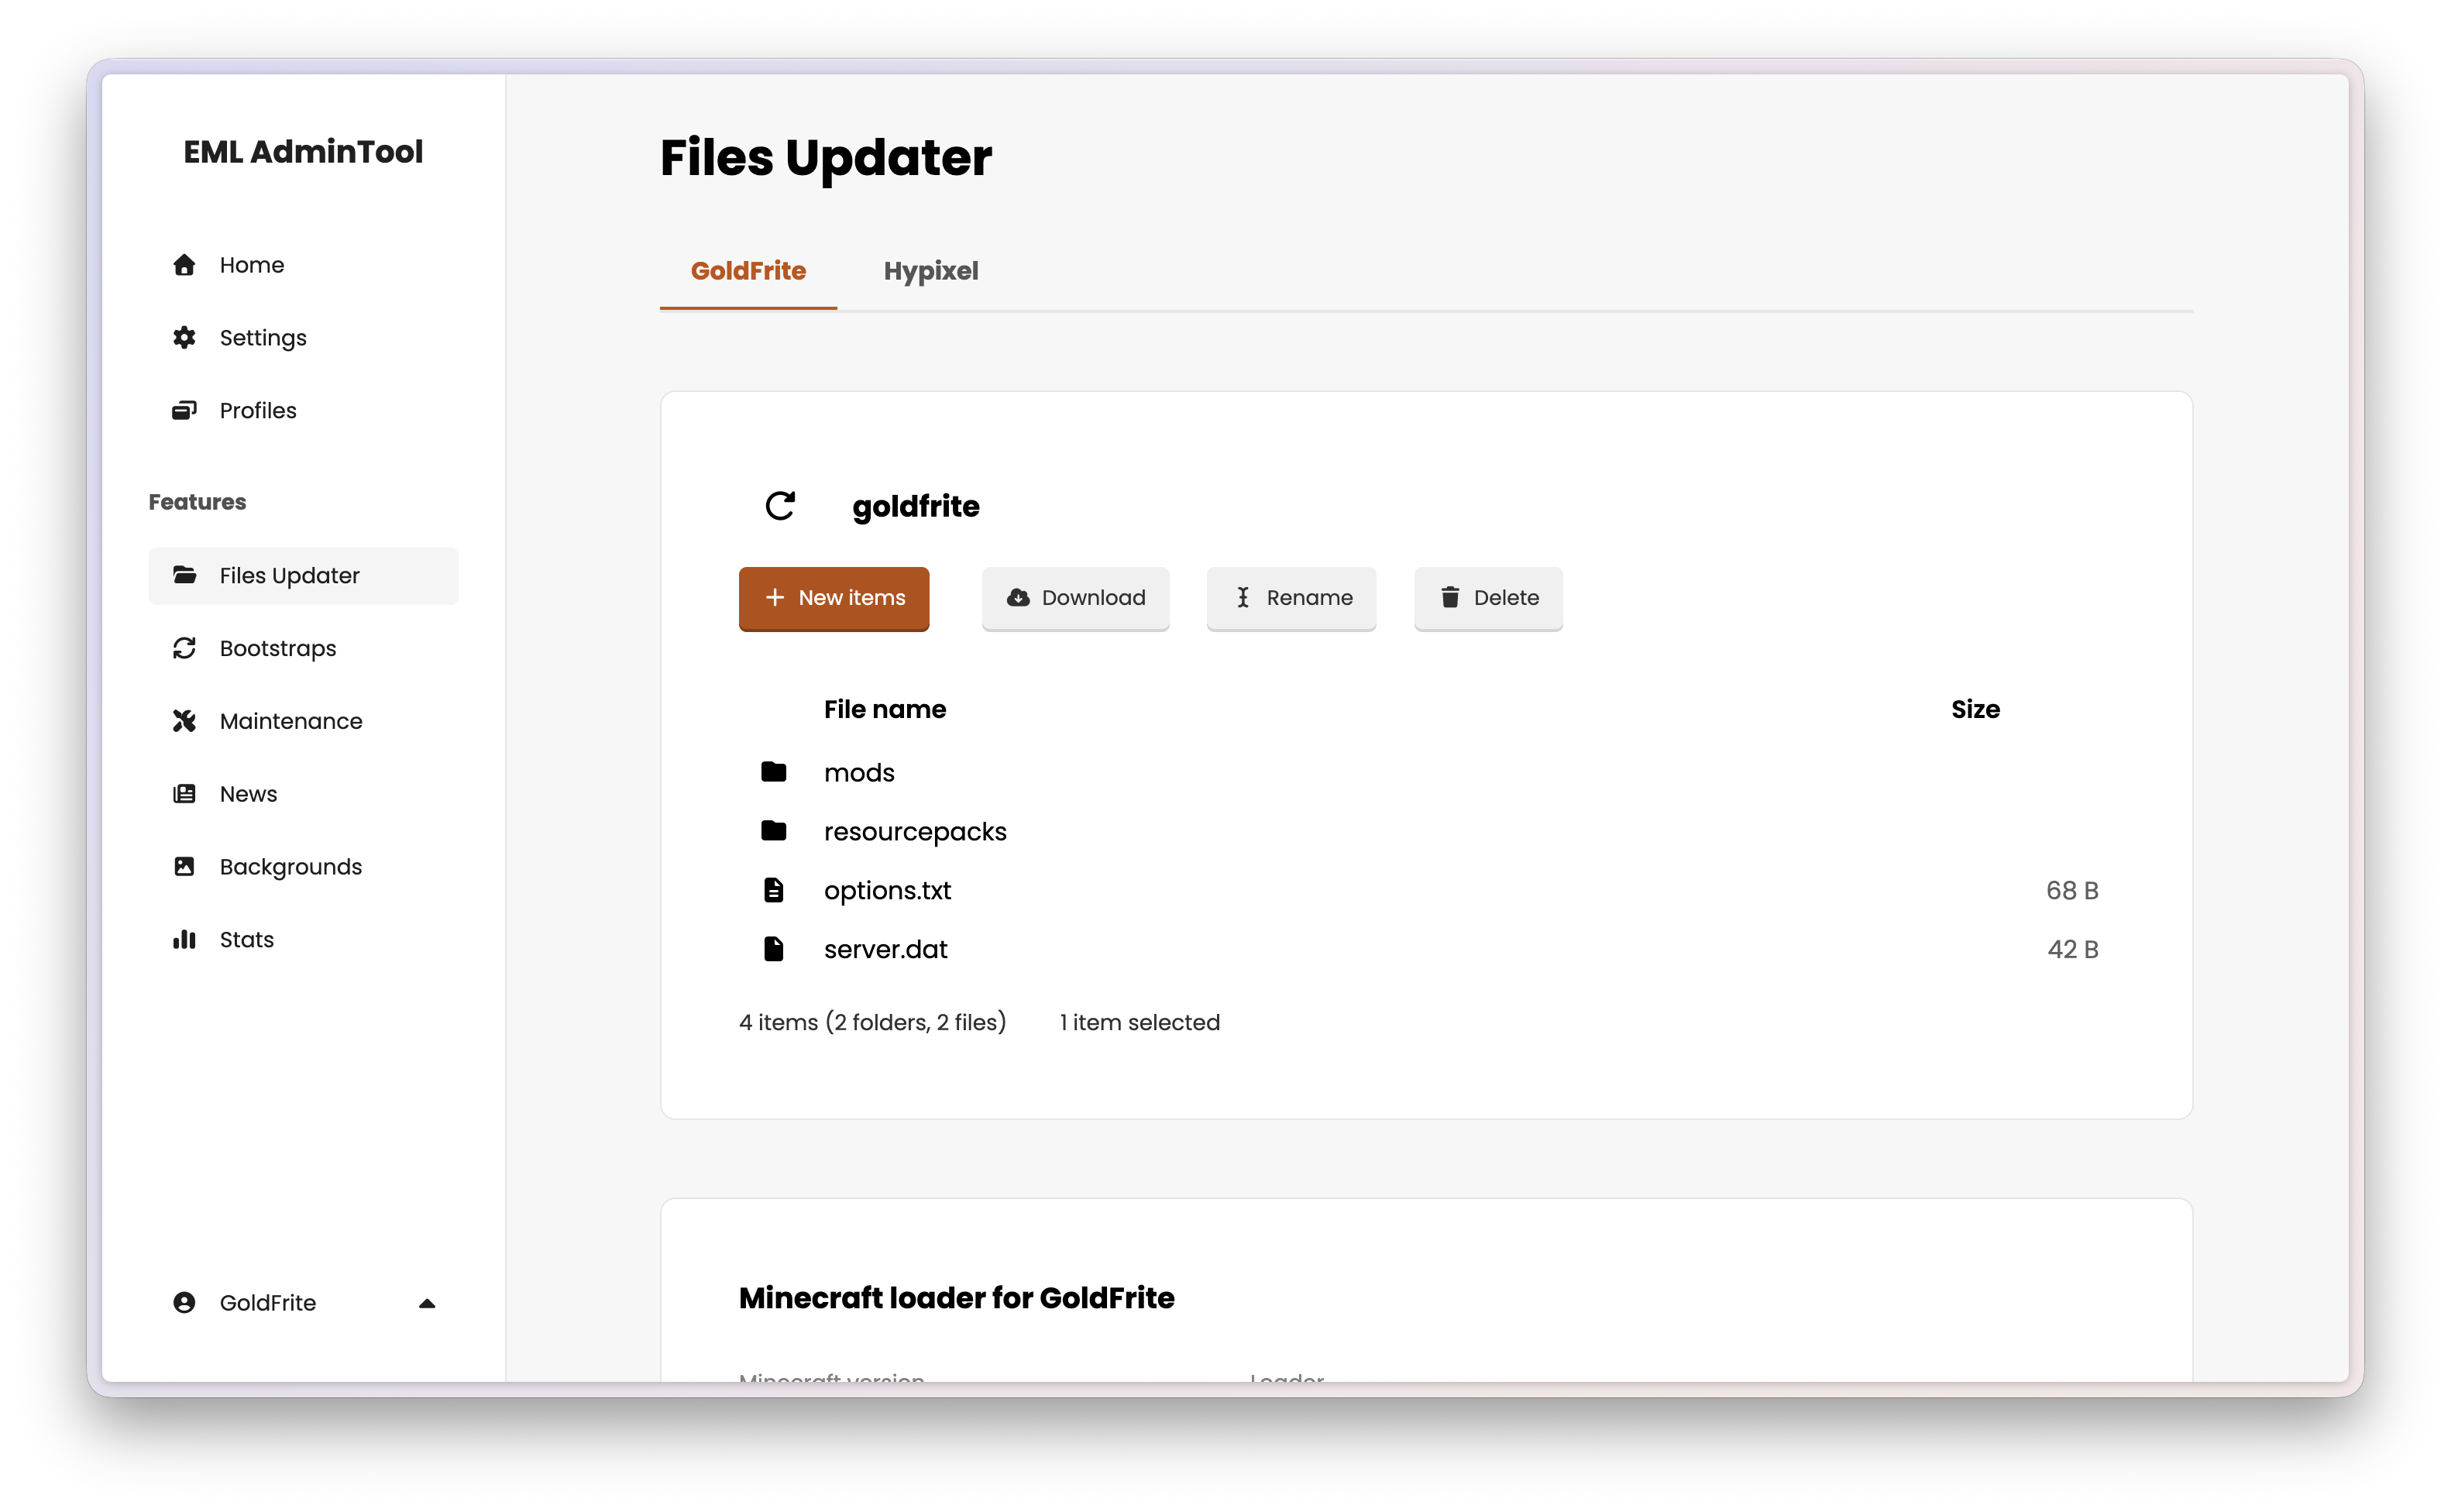
The root folder displayed in the Files Updater corresponds exactly to the game installation directory on the player’s machine (e.g. .myserver/).
Selecting a profile
If you have multiple profiles, select the target profile using the tabs at the top of the page. If only the default profile exists, the tabs are hidden.
Files
The Files Updater works like a file manager. You can:
- Upload files and folders from your computer (drag and drop is supported).
- Create new folders directly in the interface.
- Rename and delete existing files and folders.
- Edit small text-based files (such as
.txtor.jsonconfig files) directly in the browser.
Warning
Do not upload minecraft.jar, version JARs, version manifests, or the assets/ and libraries/ folders. These are managed automatically by the Loader settings feature.
Recommended folder structure
Follow the standard Minecraft directory layout to ensure compatibility:
/ (modpack folder)
├─ mods/
│  ├─ mod1.jar
│  └─ mod2.jar
├── config/
│  ├─ mod1.toml
│  └─ mod2.toml
├─ resourcepacks/
│  ├─ pack1.zip
│  └─ pack2.zip
└─ server.dat
What not to upload
Avoid uploading files that are session-specific, player-specific, or regenerated on each run:
logs/saves/(unless you intentionally want to distribute a pre-built map)screenshots/usercache.json,usernamecache.json- The
versions/folder (see Mod loader configuration below)
Handling options.txt
If you upload an options.txt, it will overwrite players’ settings on every sync. Uploading it once to set default keybinds is reasonable. Uploading it on every modpack update will reset players’ volume, sensitivity, and video settings repeatedly — avoid doing this unless intentional.
Note
EML AdminTool does not currently support merging options.txt changes. This is a planned feature for a future release. Currently, you should hard-code the default options.txt in the launcher. See workaround here.
Mod loader configuration
The Loader section, located at the bottom of the page, controls the Minecraft version and modding engine for each profile. When players launch the game, EML Lib reads this configuration to download the correct game JARs, libraries, and loader installer.
To edit, hover over the section and click the edit button.
Configuration options
Standard fields
Loader — The modding API to use for this profile:
| Value | Description |
|---|---|
Vanilla | Standard Minecraft, no mods. |
Forge | The classic mod loader. |
NeoForge | A modern fork of Forge. |
Fabric | A lightweight, modular mod loader. |
Quilt | A fork of Fabric with additional features. |
Minecraft version — The major game version (e.g. 1.20).
Minecraft and loader version — The specific version of Minecraft and the selected loader.
Important
When you save a change to the loader configuration, EML AdminTool immediately updates the manifest. The next time a player starts the launcher, EML Lib will detect the change and download the new libraries and game JARs automatically. Players do not need to reinstall anything manually.
Custom loader
Once you select a loader, you can toggle the “Customize the selected version” option. After clicking the “Next” button, you can upload a custom version.json (version manifest). To add custom libraries (or to modify existing ones), you need to compute the SHA-1 hash and the size of the file. Then, add (or update) the url property with eml://upload. EML AdminTool will automatically detect that this is a custom file, and you will be able to upload it in the next step. You can do the exact same thing with a custom assetIndex.json (asset index manifest), or client.jar (the game JAR). Here is an example based on the Minecraft Vanilla 1.20.6 version manifest:
{
  "arguments": { ... }, // The launch arguments for the client and server... you can customize these too!
  "assetIndex": {
    "id": "16",
    "sha1": "23ea571ac75c42d2318483f8a302ce4630ed54f6", // SHA-1 hash of the custom asset index file
    "size": 427365, // Size of the custom asset index file in bytes
    "totalSize": 654414263,
    "url": "eml://upload" // This will be replaced with the actual URL after upload
  },
  "assets": "16",
  "complianceLevel": 1,
  "downloads": {
    "client": { // This is the custom client JAR
      "sha1": "05b6f1c6b46a29d6ea82b4e0d42190e42402030f", // SHA-1 hash of the custom client JAR
      "size": 26565641, // Size of the custom client JAR in bytes
      "url": "eml://upload" // This will be replaced with the actual URL after upload
    },
    ...
  },
  "id": "1.20.6-custom", // This is a custom version ID
  "javaVersion": {
    "component": "java-runtime-delta",
    "majorVersion": 21
  },
  "libraries": [
    ...
    { // This is a custom library that has been uploaded to the server
      "downloads": {
        "artifact": {
          "path": "com/github/oshi/oshi-core/6.4.10/oshi-core-6.4.10.jar",
          "sha1": "b1d8ab82d11d92fd639b56d639f8f46f739dd5fa", // SHA-1 hash of the custom library
          "size": 979212, // Size of the custom library in bytes
          "url": "eml://upload" // This will be replaced with the actual URL after upload
        }
      },
      "name": "com.github.oshi:oshi-core:6.4.10"
    },
    ...
  ],
  "logging": { // Default logging configuration for the client... but you can customize it too!
    "client": {
      "argument": "-Dlog4j.configurationFile=${path}",
      "file": {
        "id": "client-1.12.xml",
        "sha1": "bd65e7d2e3c237be76cfbef4c2405033d7f91521",
        "size": 888,
        "url": "https://piston-data.mojang.com/v1/objects/bd65e7d2e3c237be76cfbef4c2405033d7f91521/client-1.12.xml"
      },
      "type": "log4j2-xml"
    }
  },
  "mainClass": "net.minecraft.client.main.Main",
  "minimumLauncherVersion": 21,
  "releaseTime": "2024-04-29T12:40:45+00:00",
  "time": "2024-04-29T12:40:45+00:00",
  "type": "release"
}
If you want to upload a custom assetIndex.json, you can do the same thing: compute the SHA-1 hash and size of the file, then add the url property and set it to eml://upload. EML AdminTool will detect this and allow you to upload it in the next step. Here is an example based on the Minecraft Vanilla 1.20.6 asset index:
{
  "objects": {
    "icons/icon_128x128.png": { // This is a custom icon file that has been uploaded to the server
      "hash": "b62ca8ec10d07e6bf5ac8dae0c8c1d2e6a1e3356", // SHA-1 hash of the custom icon file
      "size": 9101, // Size of the custom icon file in bytes
      "url": "eml://upload" // Add this property to indicate that the file should be uploaded to the server
    },
    "icons/icon_16x16.png": { // Default icon file that is not uploaded to the server
      "hash": "5ff04807c356f1beed0b86ccf659b44b9983e3fa",
      "size": 781,
      // No "url" property
    },
    ...
  }
}
Once you have uploaded your custom version.json and assetIndex.json, you will be able to upload any custom libraries or the game JAR itself. EML AdminTool will automatically detect that these files are referenced in the manifests and will allow you to upload them. The url property will be replaced with the actual URL of the uploaded file on your server.
Important
When you save a change to the loader configuration, EML AdminTool immediately updates the manifest. The next time a player starts the launcher, EML Lib will detect the change and download the new libraries and game JARs automatically. Players do not need to reinstall anything manually.
Relationship with Files Updater
Loader settings and the Files Updater are complementary:
- Files Updater manages the content your players download: mods, configs, resource packs.
- Loader settings manages the engine that runs that content: the Minecraft version and mod loader.
Both must be configured for a profile to launch correctly.